Basement waterproofing may not be the most glamorous home improvement project, but it’s the unsung hero of keeping your home secure. A house is only as solid as its foundation, and your basement is the cornerstone of that foundation.
Water can be relentless, seeping through even the tiniest cracks and crevices into your basement. Over time, this infiltration can weaken your home’s structural integrity, leading to costly repairs and potentially endangering your family.
Water damage statistics in the United States, where 98% of basements will eventually experience water damage, highlight its urgency. Without proper waterproofing, your home becomes vulnerable to unpredictable natural forces. Basement water damage affects indoor air quality, property values, and peace of mind.
You don’t need to be an expert to protect your basement. You can fortify your home against water with the proper knowledge and effort. Read on as we walk you through how to waterproof basement walls and floors to make your home a fortress against the elements.
Think of your basement like a clay bowl nestled in the ground. Builders loosen the soil around your basement during construction, making it more absorbent than the surrounding packed earth.
When groundwater levels rise due to heavy rains or high water tables, it creates hydrostatic pressure against your basement walls, seeking any weakness to infiltrate. That’s why basements are so prone to water damage.
Here are some general steps to prepare for the process.
Start by checking your basement’s construction. If you have a cinder block foundation, you’ll need slightly different waterproofing techniques than those used for poured concrete.
Even with your preparations, it’s best to tackle issues at the root, such as faulty plumbing, improper grading around your home’s exterior, clogged gutters, or downspouts directing water toward your foundation. Look for signs of basement water damage to help identify the culprit.
Clear the area of any furniture and appliances that could obstruct your work. A clutter-free space means you can access all areas that need attention while waterproofing.
Waterproofing basement floors and walls need a clean surface. Use a wire brush and scrub loose material. Follow up with a vacuum cleaner to ensure they’re free from debris.
If your basement was recently flooded, dry it before you begin. Drying and cleaning a flooded basement can take a few days, so plan ahead!
Inspect the walls and floors for cracks, holes, or bulges, as these allow water to penetrate and invalidate your waterproofing efforts. Repair structural damage with suitable materials, such as epoxy or hydraulic cement.
Gather the essentials for basement waterproofing, depending on the method you choose.
Always prioritize safety during physical labor.
Many DIY basement waterproofing methods vary based on the type and extent of water damage, your budget, skill level, and desired project outcome. The following methods are not only effective but also affordable and feasible for most homeowners.
You won’t need expertise or specialized equipment; you can typically complete these projects in just a few hours or days. Here are three DIY basement waterproofing methods in order of cost.
Sealants are an inexpensive DIY method for waterproofing, most effective for cracks and around vulnerabilities like window frames. Depending on the material and application, you can expect your basement sealant to last 5 to 10 years.
Caulk and epoxy are ideal basement waterproofing products for filling visible gaps. Choose a sealant designed for concrete surfaces that is water and moisture-resistant. Note that caulk is suited for narrow gaps and can sag in wider cracks if not applied tightly.
Cut the caulk tube’s tip or mix the epoxy components according to the package directions.
Apply a generous amount of caulk or epoxy using a caulking gun or putty knife into the crack or gap you want to seal.
After applying the sealant, use a wet finger or damp cloth to smooth out the surface. Leave no gaps or dimples to ensure a tight seal.
Let the sealant dry and cure completely as per the manufacturer’s recommendations. If any moisture or water enters the seal, there’s a chance that it could fail, and you’d need to start over.
Waterproof paint is the next step from sealant if you want to go over your entire basement.
Select a brand specifically for basement walls and floors, as these provide a substantial barrier against moisture.
Different formulae can have varying drying times and recommended number of coatings, so pay close attention to the manufacturer’s instructions on the packaging. Depending on the product, you may use a brush, roller, or sprayer.
Apply at least two coats of paint or membrane to ensure maximum protection. Allow each coat to dry completely before applying the next one to avoid sagging. A layered approach enhances the effectiveness of waterproofing.
Drainage systems are supremely effective at managing excess groundwater and preventing it from seeping into your basement. Here’s how to install one:
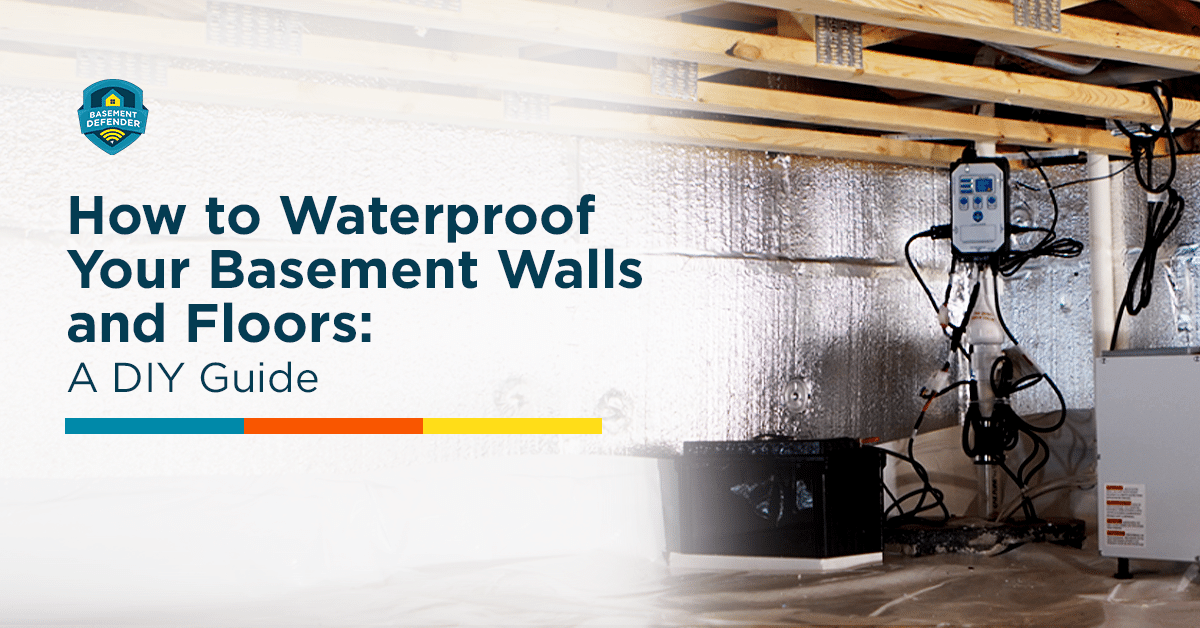
A sump pump collects and pumps water, while the drain tile directs water away from the foundation. Choose those suitable for your basement size and the water level you expect.
Find the lowest point in your basement and drill a sufficiently sized hole there. This hole will be your sump pit. Insert the pump and secure it using nails or screws.
Dig a trench following the perimeter of your basement floor and lay the tile along the canal. Connect the drain tile to the sump pump using a pipe.
Cover the drain tile with gravel and fill the trench with concrete. These materials provide stability and allow water to flow freely into the drain tile and away from your foundation.
Plug in the sump pump and test it to ensure it’s functioning correctly. You may want to use a system with a sump pump monitoring app to make this part easier. Regular maintenance and testing are crucial for keeping your drainage system in good working order.
Waterproofing your basement encompasses home safety, comfort, and value. A dry basement prevents foundational damage to protect your family and unpleasant smells from water damage, ensuring you maintain and grow the value of your property.
Enhance your home’s protection by investing in a sump pump monitor alarm system like Basement Defender. This early warning system monitors your basement pump and alerts you of any problems before they escalate. For more information, visit our contact page and shop today!


Use code BDFREESHIP26 at checkout to get FREE shipping